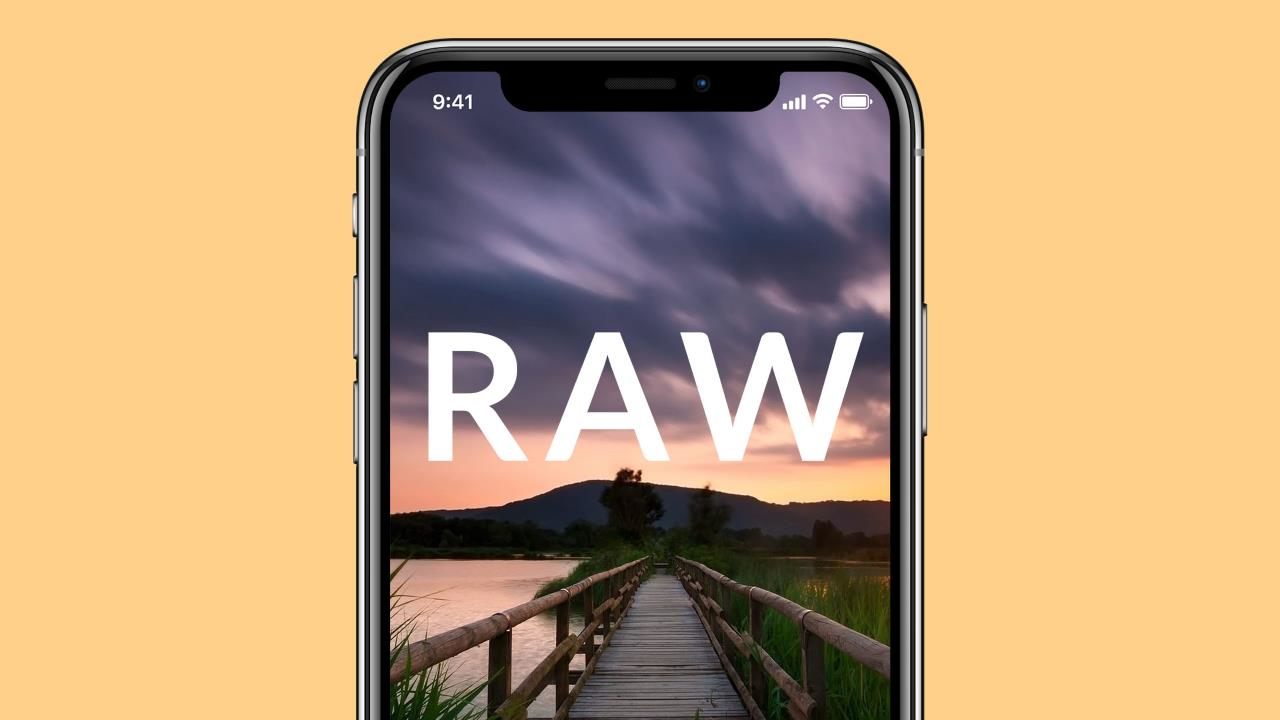
Taking photos with your iPhone is great: it’s fast, it’s intuitive, and most importantly – it’s always with you. While we prefer taking a professional camera on a holiday, it’s our phones that get used the most. There are still camera things that an iPhone can’t do – you can’t swap in a 300mm zoom lens during a wildlife safari, for instance – but Apple has come closer and closer each year.
One of those improvements was the introduction of RAW support, giving iPhone owners more latitude to play with their photos after hitting the shutter button. And though the feature has been around for a while – RAW support has been available from the iPhone 6s onwards – not many know about it, or know how to use it. Part of that is Apple’s fault: the built-in Camera app doesn’t shoot RAW.
The only way to click RAW photos on iPhone involves third-party apps. We downloaded many apps that claimed to capture RAW photos, browsed suggestions provided by professional photographers, and then landed on a selection – both free and paid – that will have something for everyone. But before we get into the various apps and the features on offer, it’s worth diving into what RAW offers in the first place.
ALSO SEEThe Best Free Photo Editing Apps on Android
What is RAW photography?
When you take a picture on an iPhone, here’s what happens: the sensor captures information, iOSprocesses that in the way Apple engineers wanted, and then the file is saved to your Photos app. But when you shoot RAW, the second step of processing, adjusting, and tuning never takes place, and the file is saved in DNG format, which grants greater control over editing to the user.
The reason Apple (and everyone else) doesn’t opt for RAW by default is because processing RAW files is taxing on the phone, and they take up a lot more space than standard photos, aka a JPEG, or HEIC on new iPhone models. That’s why RAW files also come with a low-resolution preview, so photo editors can display it quickly, without making you wait.
What iOS devices support RAW photography?
RAW photo capture is supported on the following iPhone models: iPhone X, iPhone 8, iPhone 8 Plus, iPhone 7, iPhone 7 Plus, iPhone 6s, iPhone 6s Plus, and iPhone SE. Among iPad, RAW capture works on iPad Pro 9.7-inch, iPad Pro 10.5-inch, and iPad Pro 12.9-inch (2nd-gen) only.
Should you always use RAW?
Since RAW offers more control, you’re probably wondering if RAW-only is the way to go. No, not always. For one, RAW takes a lot more space, as we said before. Two, Apple’s own calculations are quite helpful at times, especially when it comes to noise reduction. And three, you don’t need RAW if you’re just capturing for reference: a page, parking spot, a phone number, and things like that.
Plus, Apple doesn’t allow RAW capture in Portrait Mode for now. It’s likely a performance issue, since capturing depth map for Portrait Mode is CPU-intensive. If you like those depth-of-field shots, you’ll have to be content with normal photos for now.
Best RAW camera apps on the iPhone
ProCam 5
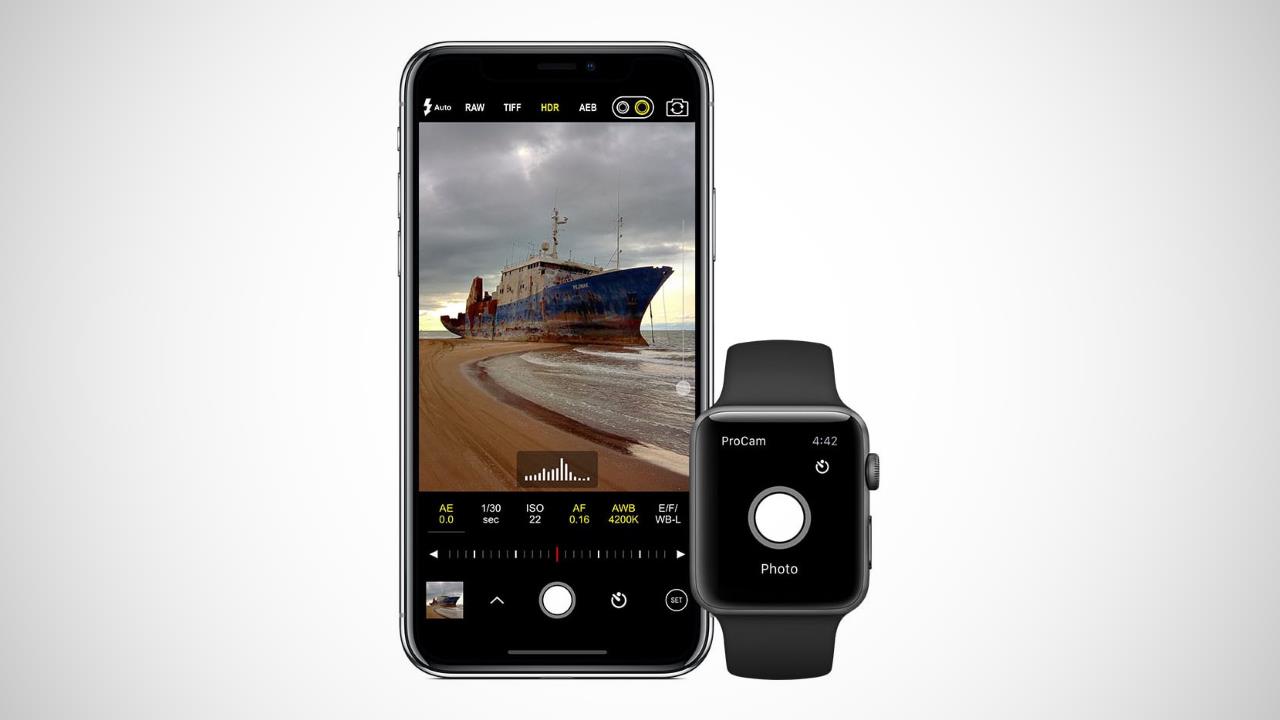
One of the most popular apps on App Store’s photos & videos section, and the most expensive option on our list at Rs. 499, ProCam 5 is also the only one here with an Apple Watch app. Whether it’s worth the price is up to you to decide, although we liked it a lot.
It offers all kinds of manual controls, including exposure, shutter speed, ISO, focus, and white balance. ProCam 5 also makes it really easy to switch between RAW, HDR, and AEB (auto exposure bracketing) for high-contrast pictures, and offers a ton of shooting modes: night, burst, slow shutter, Portrait Mode, and 3D Photos. The last of those only works on iPhones with dual rear cameras.
ProCam 5 provides live shutter speed, ISO, focus, and WB values, in addition to focus peaking, so you can easily gauge what you’re shooting is in focus or not.
Download ProCam 5 (Rs. 499)
VSCO
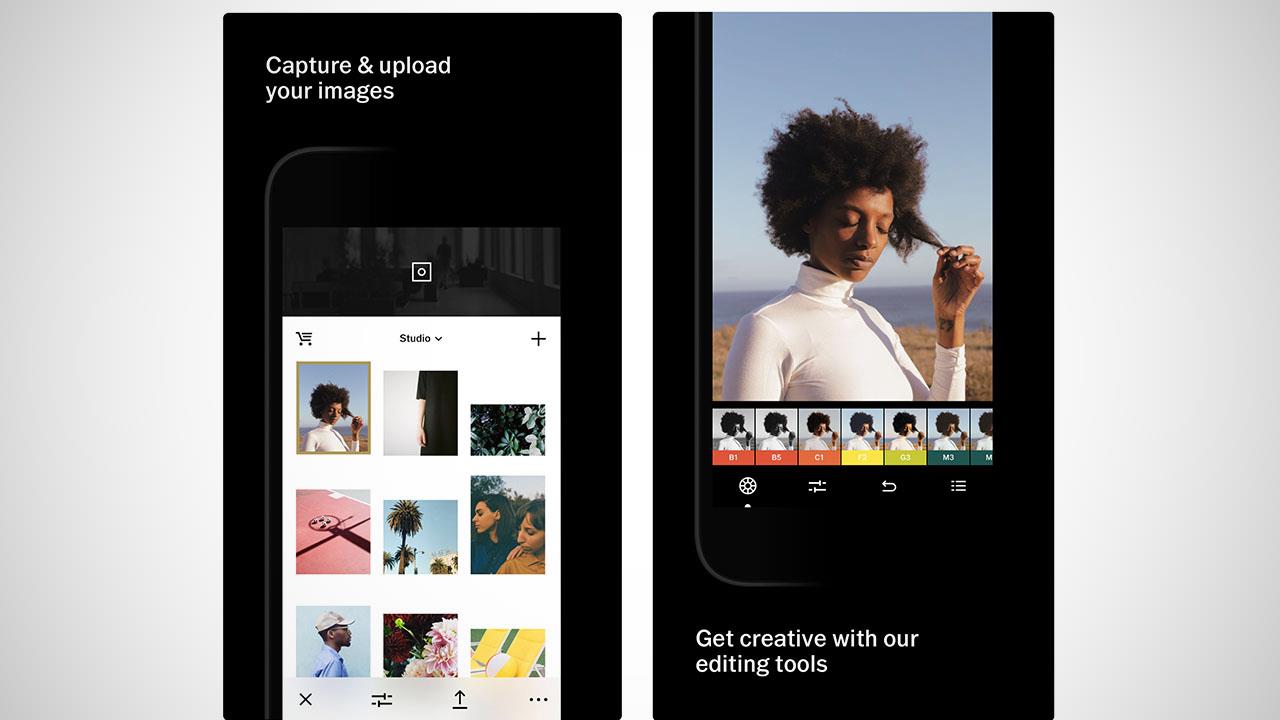
On the other end of the price spectrum is the community-driven VSCO, which became known for its filter packs that provided various looks without the hassle of editing. The app has turned into a lot more than that over the years, including support for RAW capture and editing.
You can switch to RAW shooting with a single tap, and manual controls for exposure, shutter speed, ISO, focus, and white balance are included in the same row. Once you click a RAW picture, you can bring it into VSCO’s in-built editor, adjusting colour balance as you please, recovering lost highlights, and even making use of all the filters at your disposal.
Download VSCO (Free)
Halide
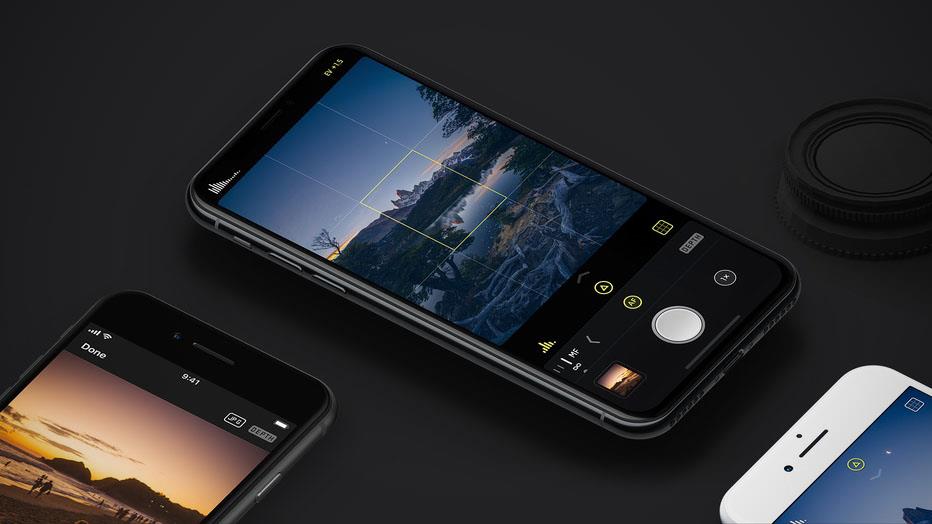
If you don’t mind forking over a few hundred rupees, Halide is another powerful camera app worth checking out. Chroma Noir, the team behind Halide, developed a new UI from scratch for the iPhone X, so it looks just right on your super-expensive device.
Halide’s manual controls work with gestures, changing exposure and focus with a swipe, while you can tweak the rest – ISO, white balance etc. – via menus. The app also offers focus peaking just as ProCam 5, plus live histogram to better judge exposure.
To ensure you can view your RAW photos in apps that don’t support it (including Apple’s own Photos), Halide saves a JPEG preview by default for those apps to fall back on. When it comes to exporting RAW from within Halide, you can choose TIFF, JPEG (‘Most Compatible’), or HEIC (‘Most Efficient’).
And to make for a faster launch, Halide has both lock-screen widget support and 3D Touch actions for dropping straight into manual/ automatic mode.
Download Halide (Rs. 399)
MuseCam
Technically speaking, this is the only other ‘free’ app on this list. MuseCam does offer in-app purchases, one of which is needed to get the most out of RAW photos, but if you’ve another app for editing your RAW photos elsewhere, then you don’t need to bother paying for anything.
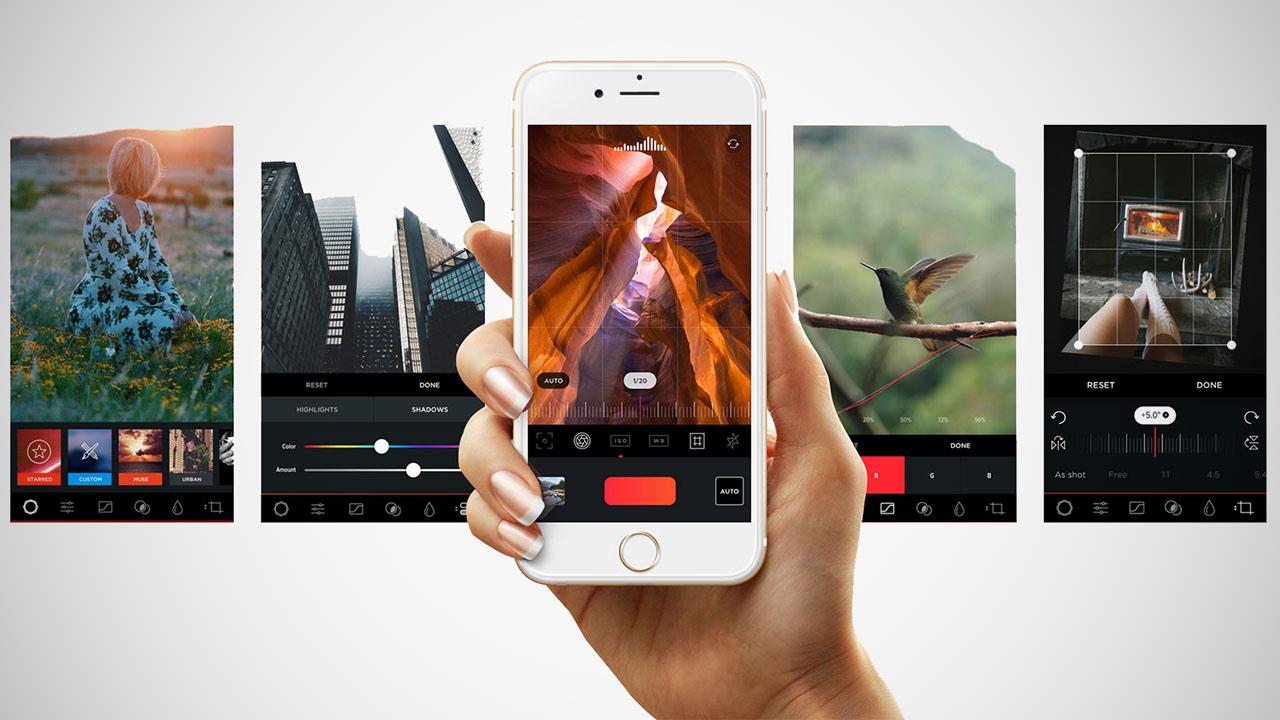
In addition to the repertoire of manual controls – shutter, ISO, white balance, and focus – MuseCam also offers custom film-inspired presets, tone curves that allow individual control of RGB channels, complete edit history, and a simulated depth of field tool. You can pair the last of those with RAW to achieve what Apple wouldn’t otherwise let you.
MuseCam brands itself as an app that lets you capture and edit in the same place, without having to think about importing, but if you do gown that road, you’ll have to pony up for curves, split toning, and HSL as a Rs. 299 in-app purchase.
Download MuseCam (Free)
Manual
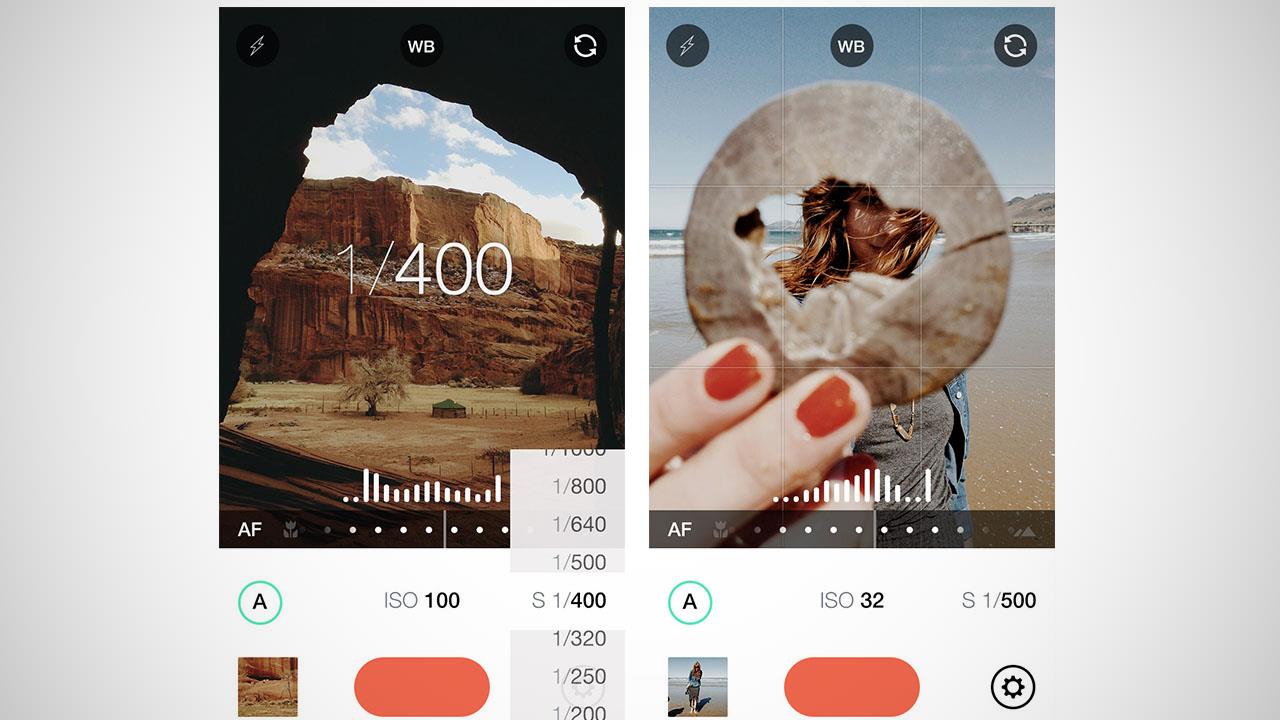
One of the first app to bring manual controls to the iPhone continues to be a good workhorse, providing full RAW capture in addition to the controls that have always been there: shutter, ISO, white balance, focus, and exposure.
Manual also has a live monitor for automatic exposure values, a live histogram, and a level tool to make sure your photos aren’t tilted. Plus, you can save photos directly to Camera Roll, unlike say MuseCam, which only saves JPEG by itself.
Other options include focus zoom, a delayed shutter for long exposures, fill flash mode, grid overlays (rule of thirds, or square), light and dark themes, and an EXIF viewer.
Download Manual (Rs. 299)
[“Source-gadgets.ndtv”]
